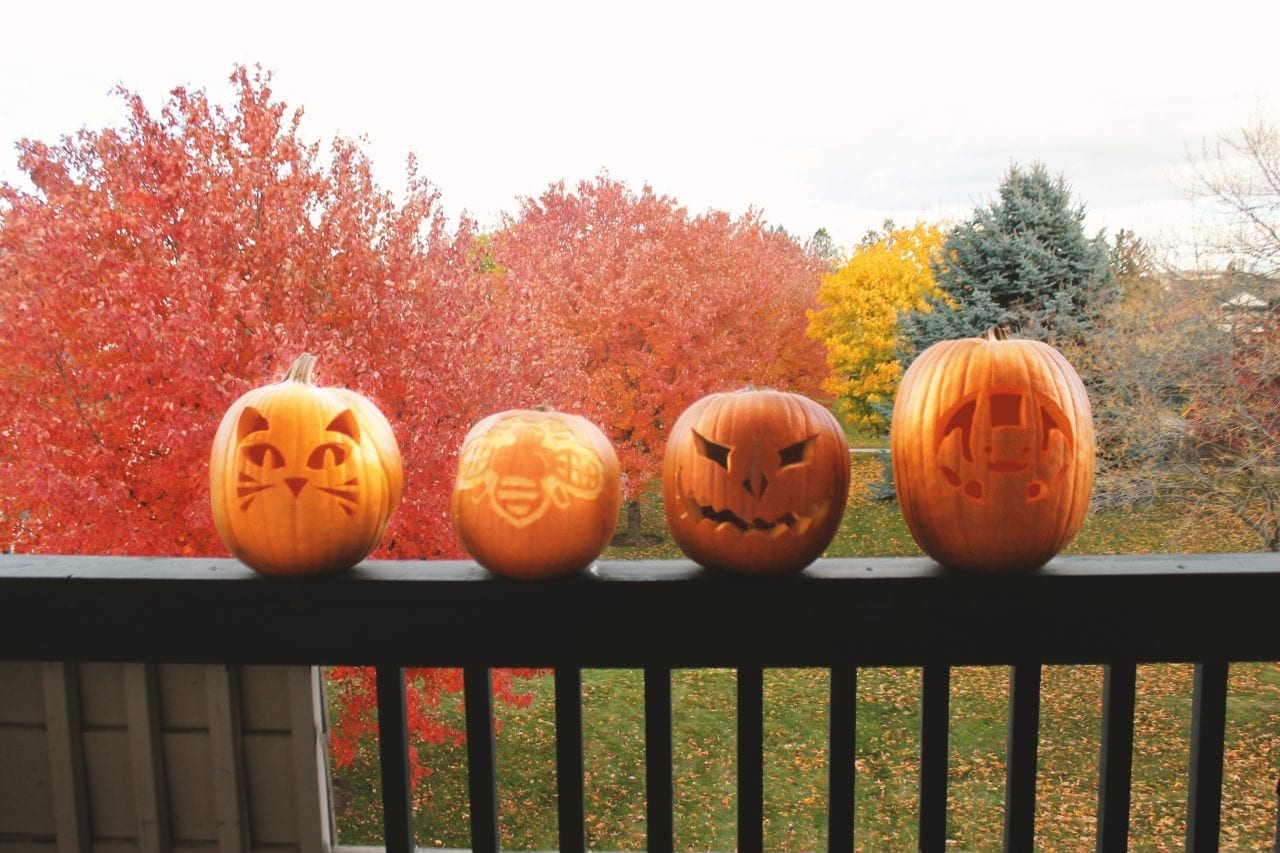
With Halloween tomorrow, October had one last weekend open for pumpkin carving. There are lots of questions you have to ask yourself when embarking on this spooky and goopy adventure. Where will you get your pumpkins? What design and style do you want to carve? What size pumpkin do you need to accommodate the design you’ve chosen? Which tools are necessary? Speaking as someone who doesn’t see the value of planning until I inevitably come across an obvious problem, these are helpful questions to think through before diving in.
Step 1: Choose Your Design and Carving Style
It’s good to start with deciding what you’ll carve into your pumpkin as that could help answer some follow up questions. If your design is very detailed, you’ll need a larger pumpkin, so your carving space is big enough for those intricacies. Do you want to cut completely through your pumpkin or etch it, so the light glows through? Making these decisions will also help you decide what tools to have handy when it’s time to dig in.
Check out some pumpkin carving ideas for inspiration.
Step 2: Assemble Tools
No matter what design style you’ve chosen you’ll at least need:
- Carving surface (table, counter, etc.)
- Serrated knife
- Bowl (for pumpkin guts)
- Scoop or spoon
Depending on what you want from your pumpkin and for your design here are some other things that could be helpful to have around:
- An extra bowl (for setting aside pumpkin seeds for roasting)
- Rubber gloves (if you don’t like getting goopy)
- Protective covering (for your surface to help with clean up)
- Poker wheel (to help make guiding incisions on your design lines)
- Pencil (for drawing your design)
- Design stencil (if you’re not comfortable with freehand)
A lot of these items come together in varying levels of pumpkin carving kits.
Step 3: Cut the Top Off Your Pumpkin
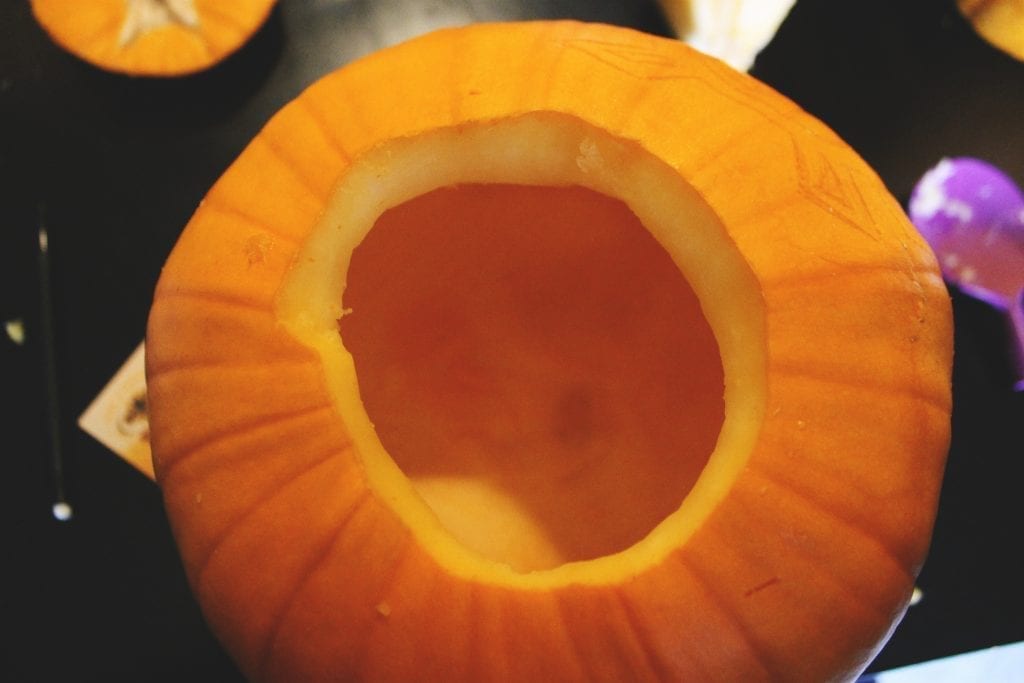
Once you know what you want to carve and have all your necessary supplies, it’s best to start your carving by removing the top of your pumpkin. Carve around the pumpkin’s stem with your serrated knife. Carve at a 45-degree angle and make sure you’re cutting a large enough opening for your hand to fit through. If you cut straight down, your top could collapse into the pumpkin. Once the top of your pumpkin is off, clean off any goo hanging from it, and set it to the side.
Step 4: Clean Out Your Pumpkin
Once the top of your pumpkin is cut off use your scoop or spoon to clear out the goop inside. Scoops made especially for pumpkin carving with serrated edges are the most effective. Put the pumpkin goop in a bowl and put any seeds you want to roast later in a separate bowl. Check out how we roasted our pumpkin seeds and had four flavors to choose from with the final product.
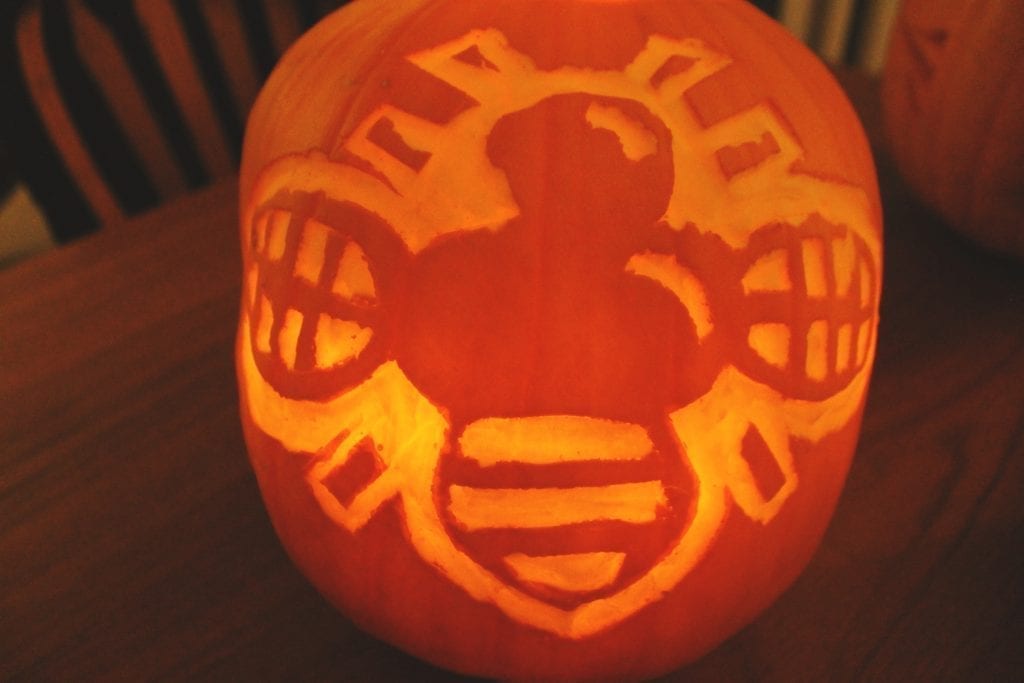
If you’re planning to etch your pumpkin and want the candlelight to shine through, make sure to carve out the inside of your design’s wall until it’s about 1/4-1/2 an inch thick. The thinner it is, the brighter it’ll glow.
Step 5: Draw Your Design Onto Your Pumpkin
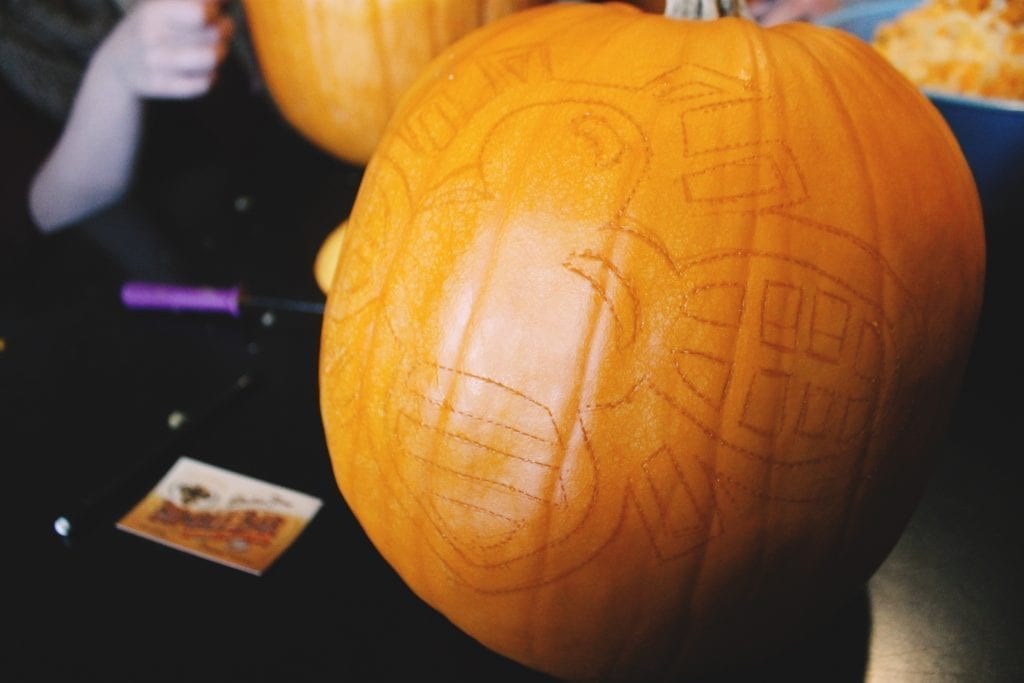
Depending on a few factors, this step could differ between designs. If you have a stencil to work with, tape it to the side you want to draw on and use your poker wheel to make impressions into your pumpkin outlining your design. If you’re freehand drawing your design, you might want to use a pencil, but be careful with the lines you make as you can’t erase any marks you indent into your pumpkin. After you draw the design, use a poker wheel to mark along those lines. The poker wheel indentations make the next step of carving easier.
Step 6: Carve Your Pumpkin
If you’re carving through your pumpkin, this step is pretty straightforward. Use a serrated knife to cut completely through the lines you’ve set up with your poker wheel and push out the shapes you carve.
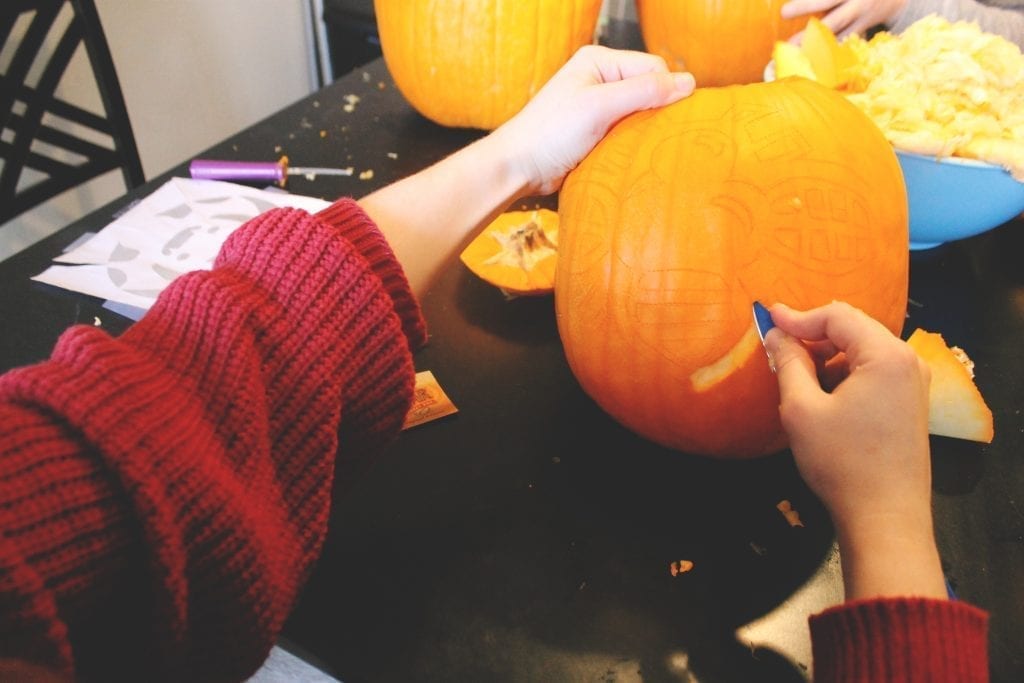
If you’re just etching into your pumpkin, use a knife (it doesn’t have to be serrated) to cut under the skin where you want your design to show. The poker wheel marks help to cleanly remove the skin without accidentally removing the skin outside the lines you’ve set. Etching takes a little more time, and patience in general than cutting out a design does (depending on how complicated your outline is). If you hurry through it, your lines will be jagged and messy (we know because that’s what we did).
Step 7: Pop a Candle in and Enjoy
Once you’re done, lean back and enjoy your creation. Depending on where you live you might want to put your festive piece of art on your front porch, on your back deck, or on display in your house. We set ours outside the door to our factory so the cold will preserve it as long as possible and so everyone who comes through can enjoy it!
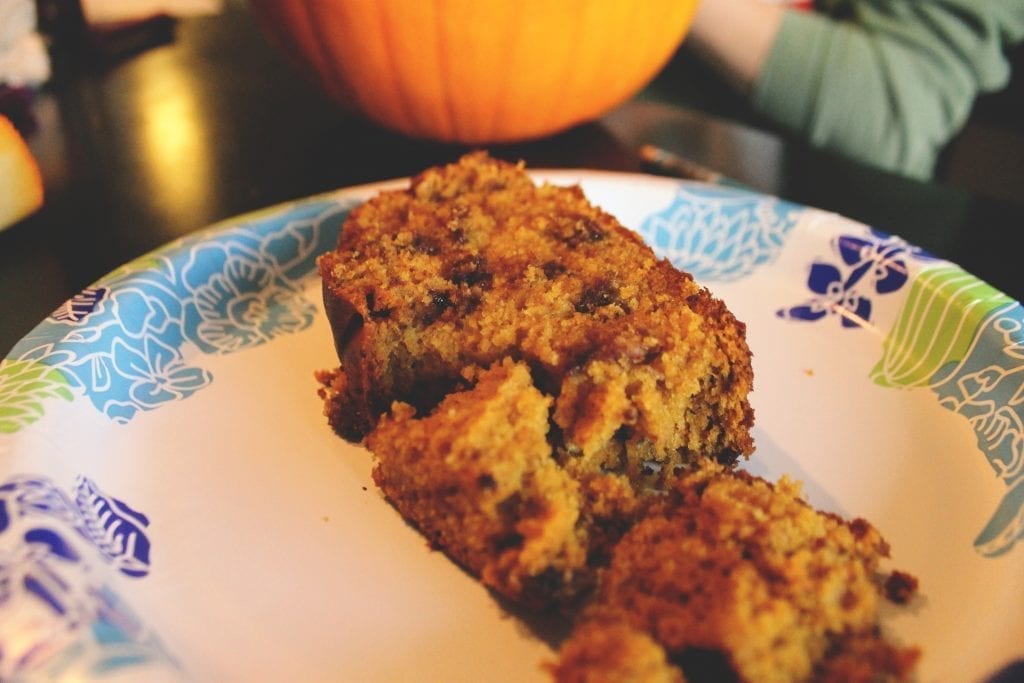
Pro tip: Make an event of this craft by enjoying pumpkin bread alongside your carving!
