As the temperatures drop, you might find yourself wearing two sweatshirts huddled under a pile of blankets in your living room, refusing to turn on the heat because your apartment has expensive baseboard heating and you’re a stubborn penny-pinching warrior. No? That’s just me? Well, all right.
In addition to my four sweatshirts and mound of blankets, I like to light candles. Now, I don’t know if candles add that much heat to space, but I’m all for the placebo warmth and pleasant ambiance. Candle season is one of the only good things about cold weather. They bathe a room in warm natural light, make me feel cozy, and they have such pleasant aromas.
Because of my love of candles, I decided to make mini ones of my own out of wax and crayons. Now, these candles won’t fill a room with lovely caramel apple or freshly carved pumpkin smells, but they will look adorable as a glowing miniature set of three on my dining room table. Want to make your own custom mini candles? It’s super simple.
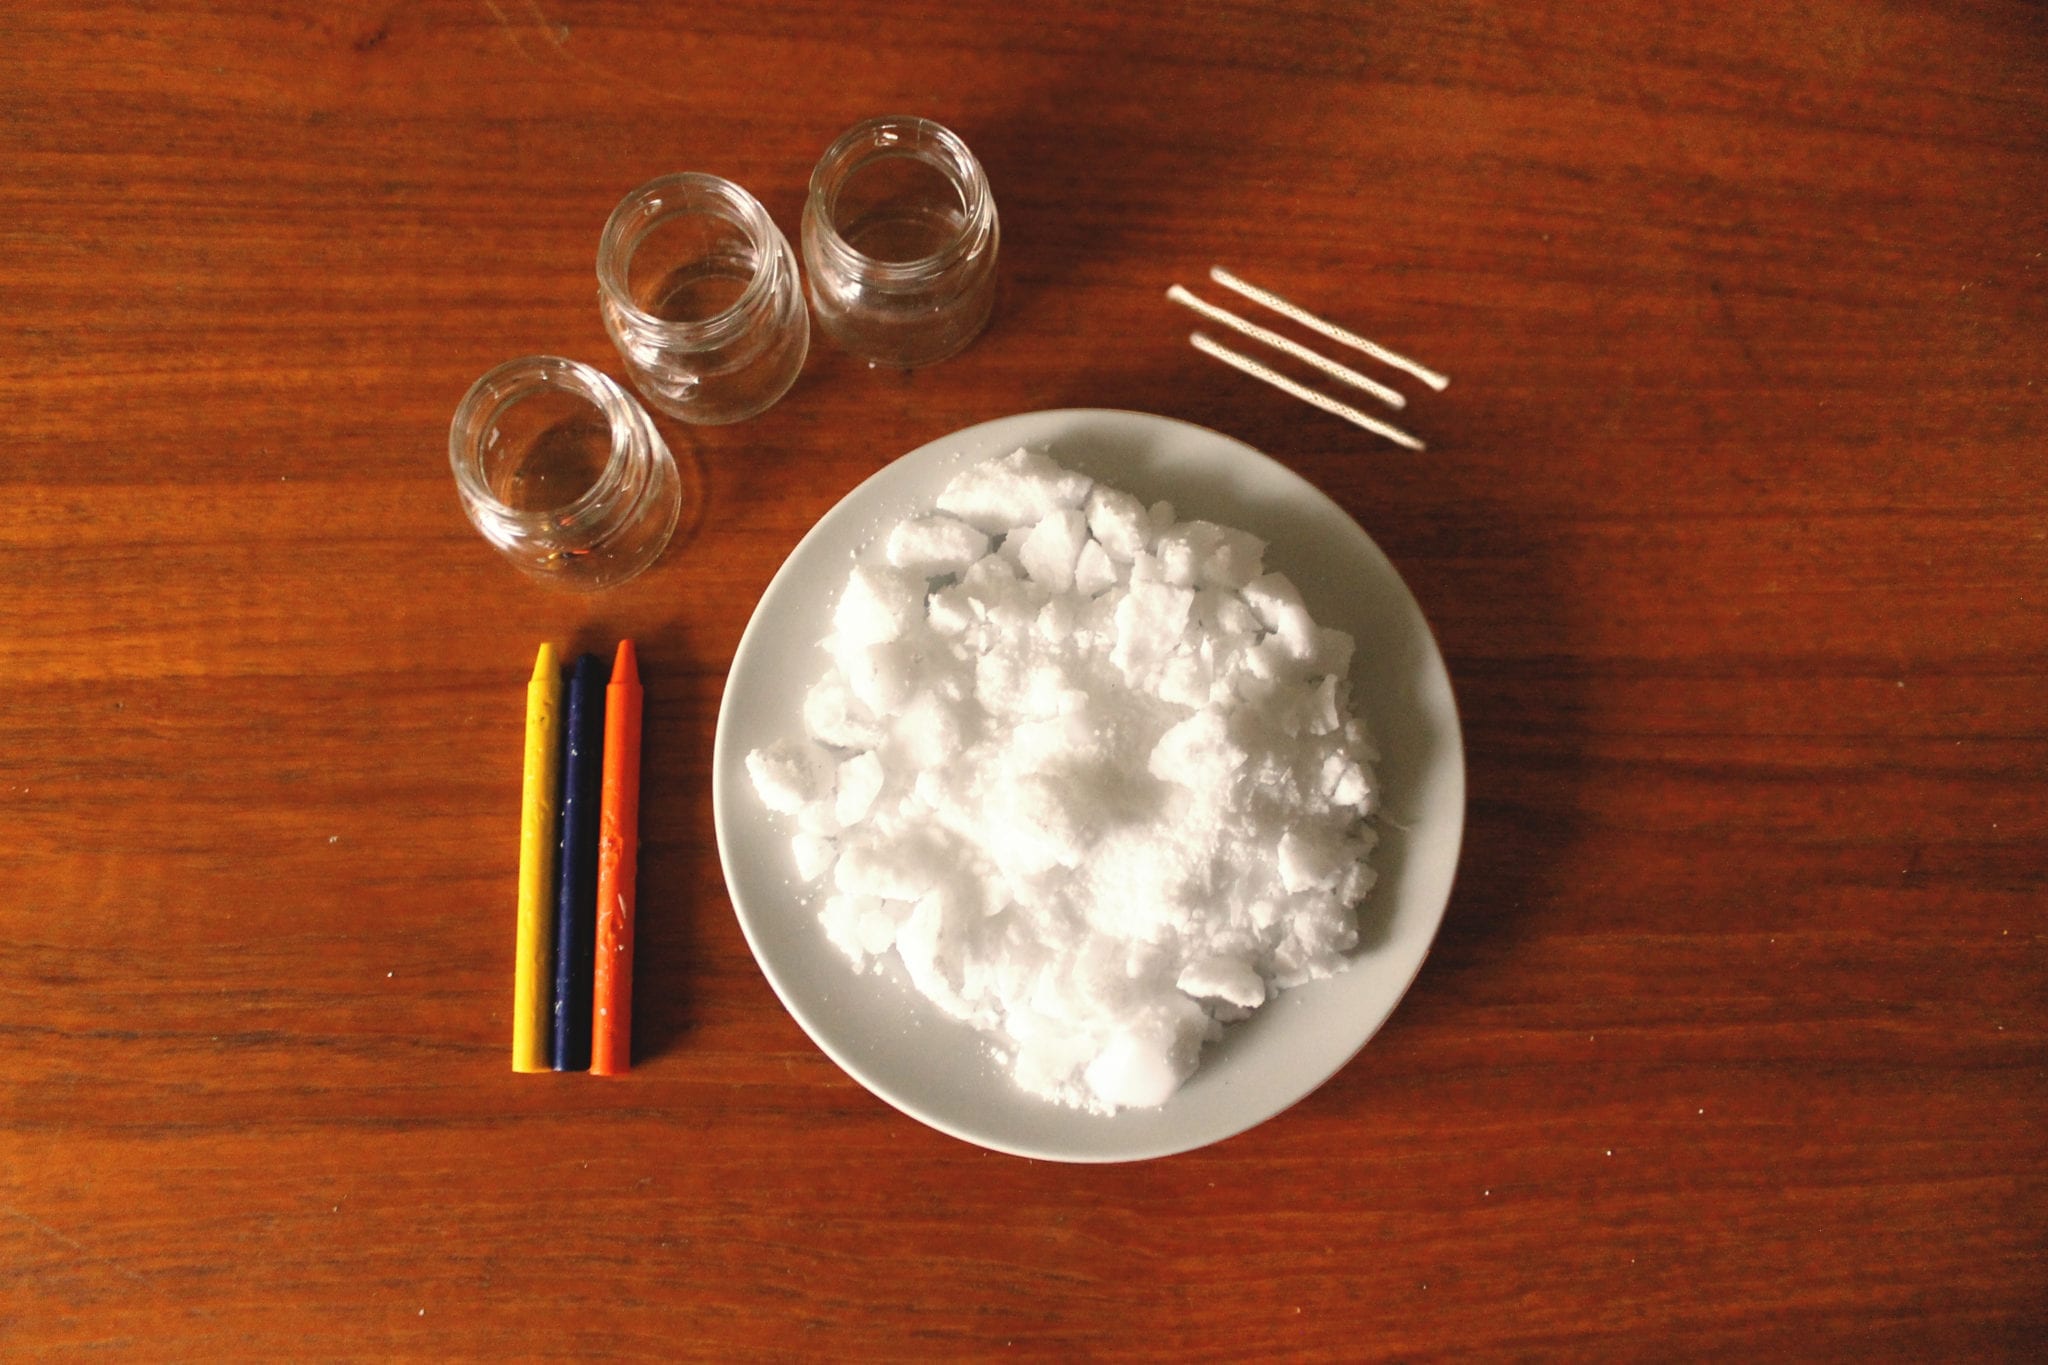
What you’ll need:
- Three crayons the color of your choice
- Three small glass containers
- Wax (enough to fill your three containers)
- Three candle wicks
- Oven mitt
- One set of chopsticks
- Two rubber bands
- Microwave

Step 1
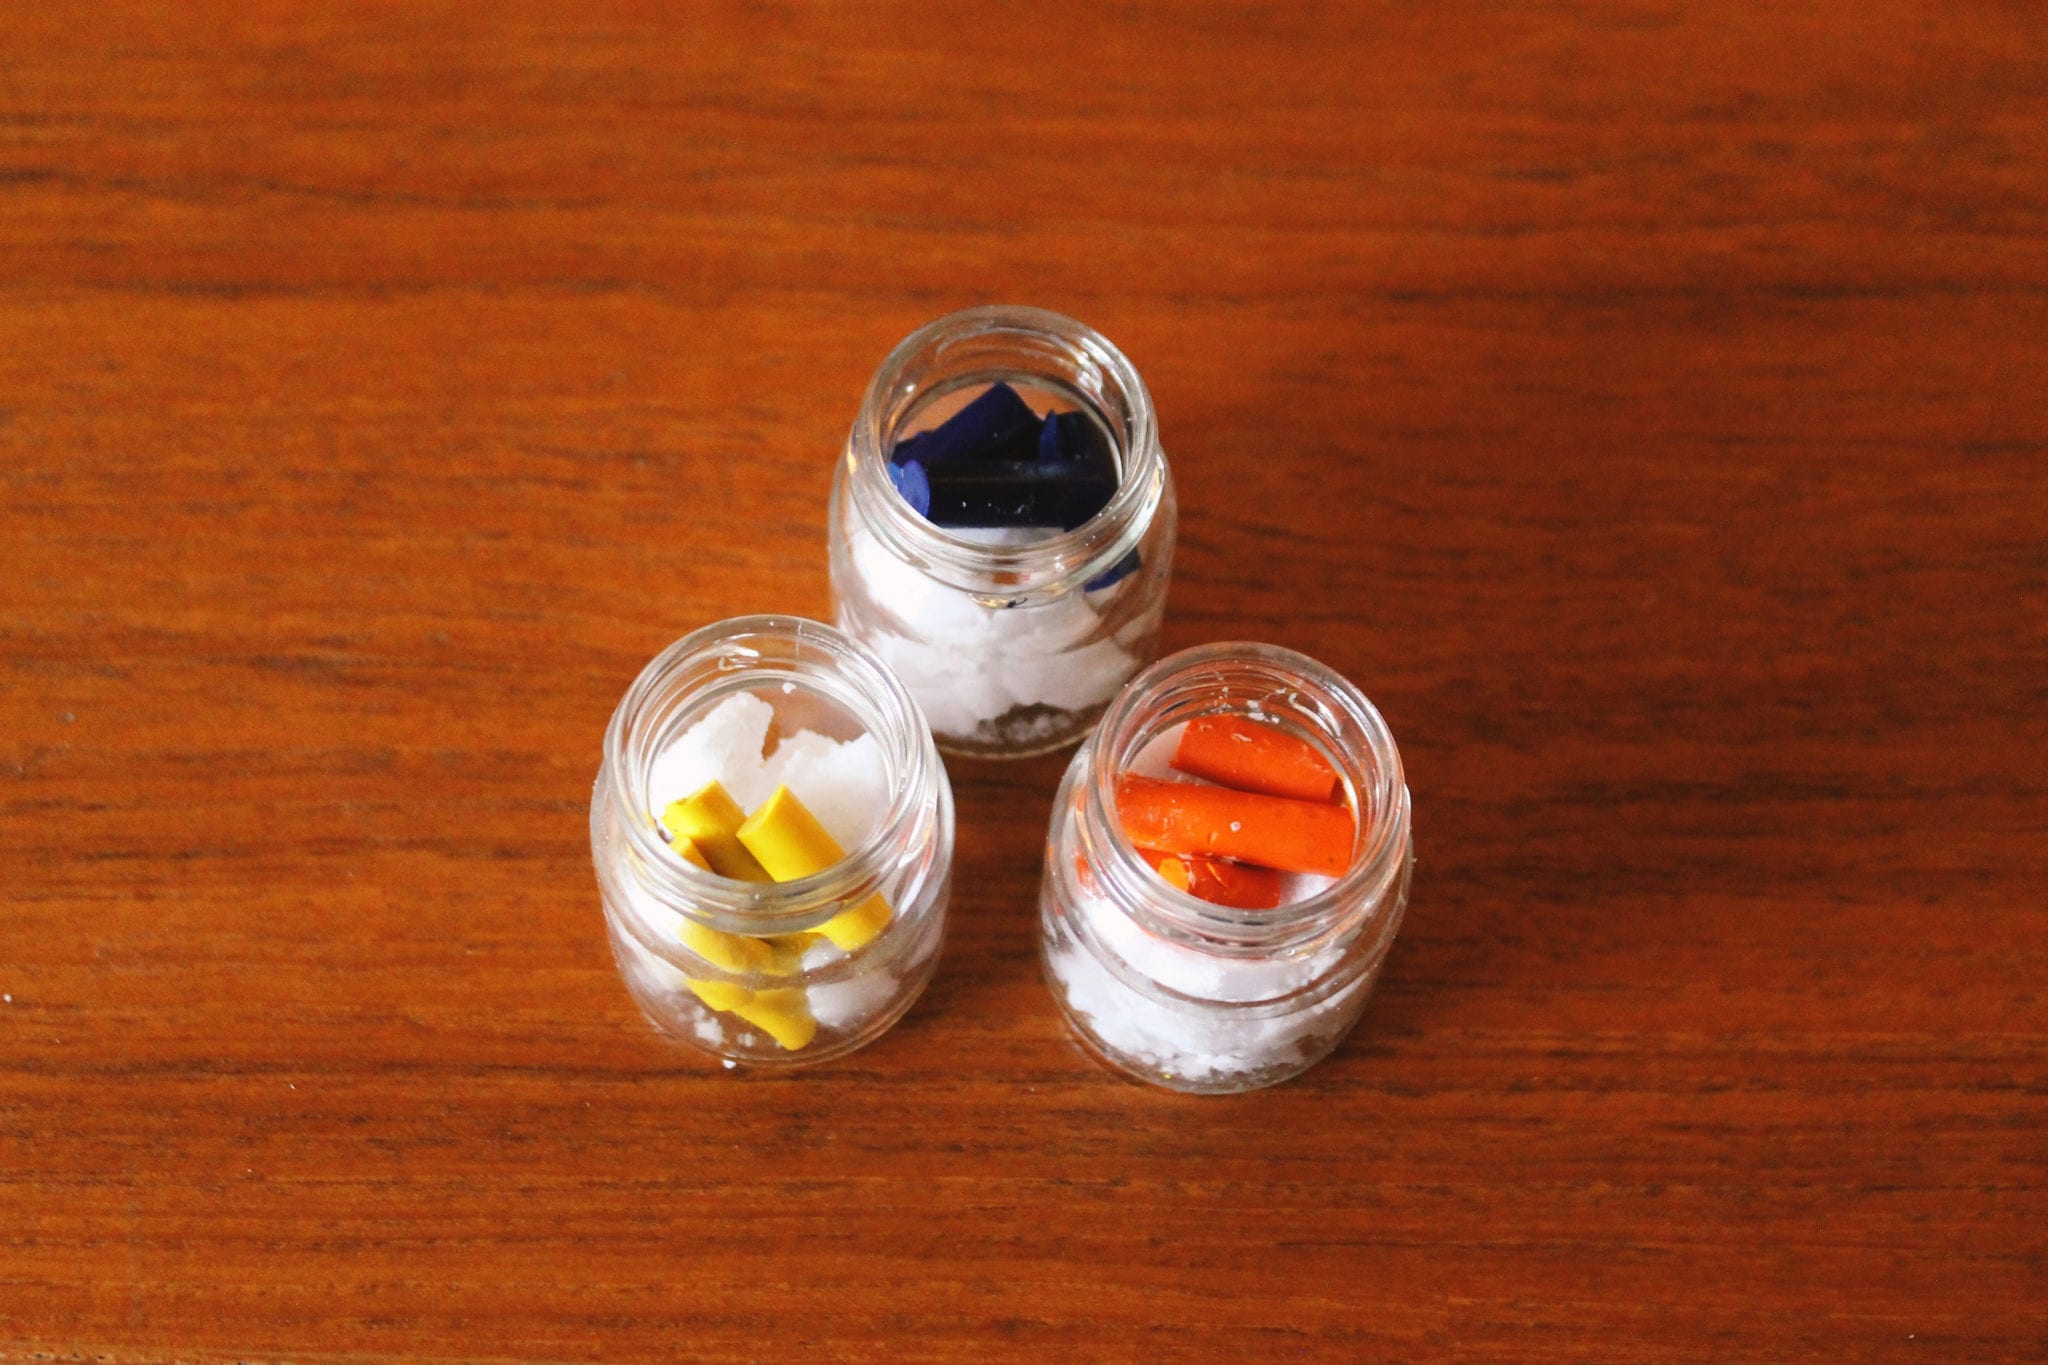
Break up your desired color Crayons into pieces small enough to fit into your glass containers. Put those pieces in your containers along with enough wax to fill the jar. Pop all three jars into the microwave for 3 minutes or until it melts a fair amount.
Step 2
The melting makes room in the jars, so step 2 is to add more wax to each and return to the microwave for another 3 minutes. Use an oven mitt or protective layer when handling the jars out of the microwave, they will be hot to the touch. Repeat Step 2 until the melted wax fills the jar to your desired height.
Step 3
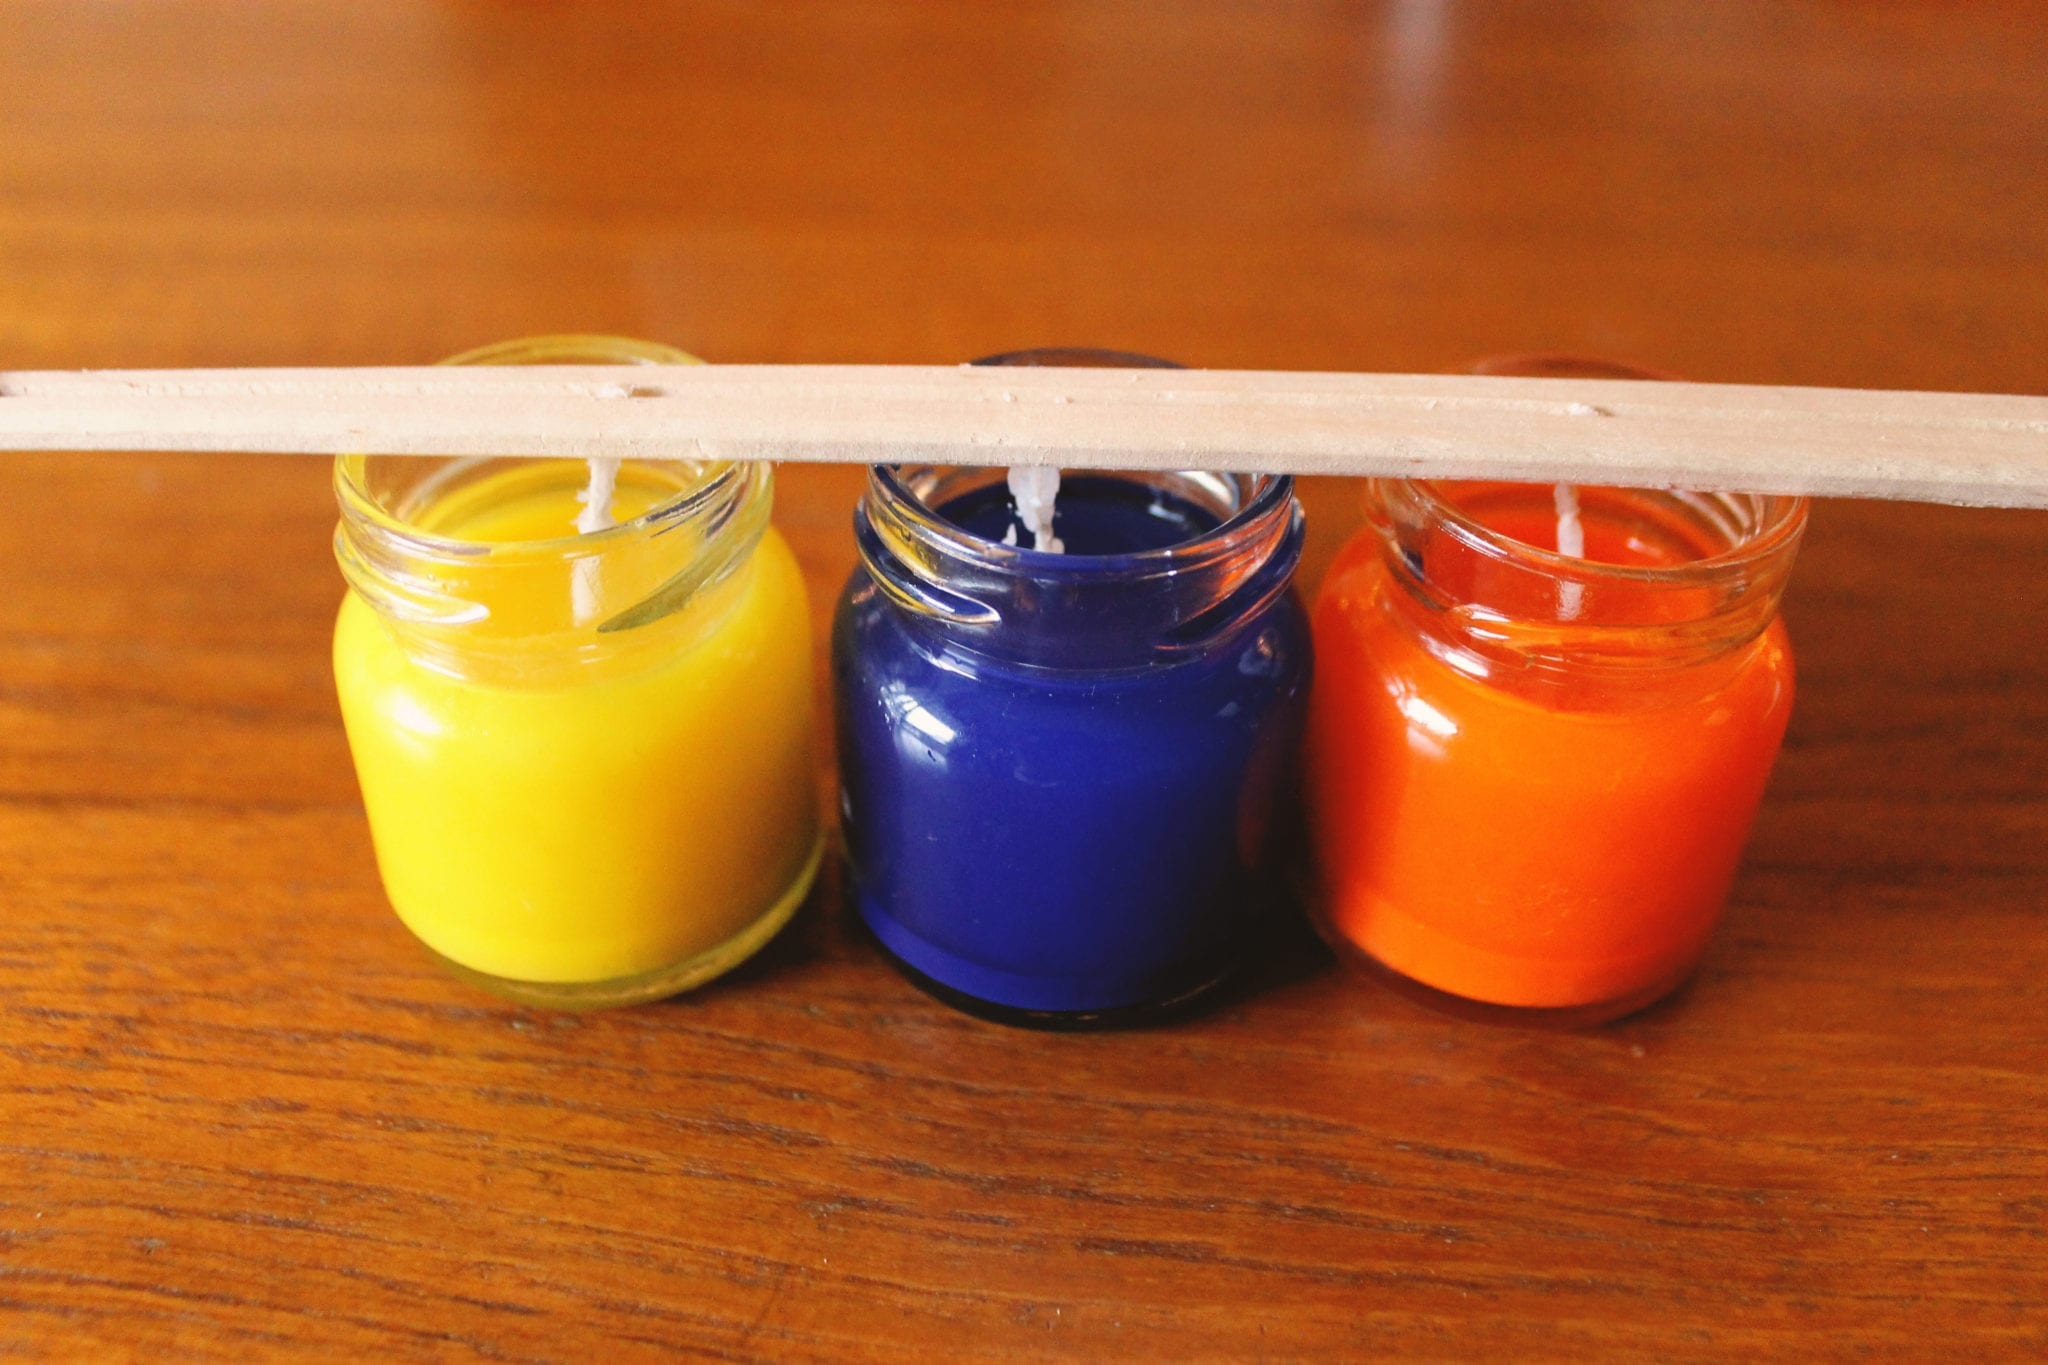
Once the melted wax is filling the jars, take them out of the microwave with an oven mitt and place them on a heat-resistant surface. Wedge the three wicks in between a set of chopsticks and wrap a rubber band around each end of the sticks, so the wicks don’t fall out. Adjust the spacing between the wicks so that each wick hangs in the middle of each candle when laying the chopsticks on top of the jars. Leave this set up to dry for 3 hours.
Step 4
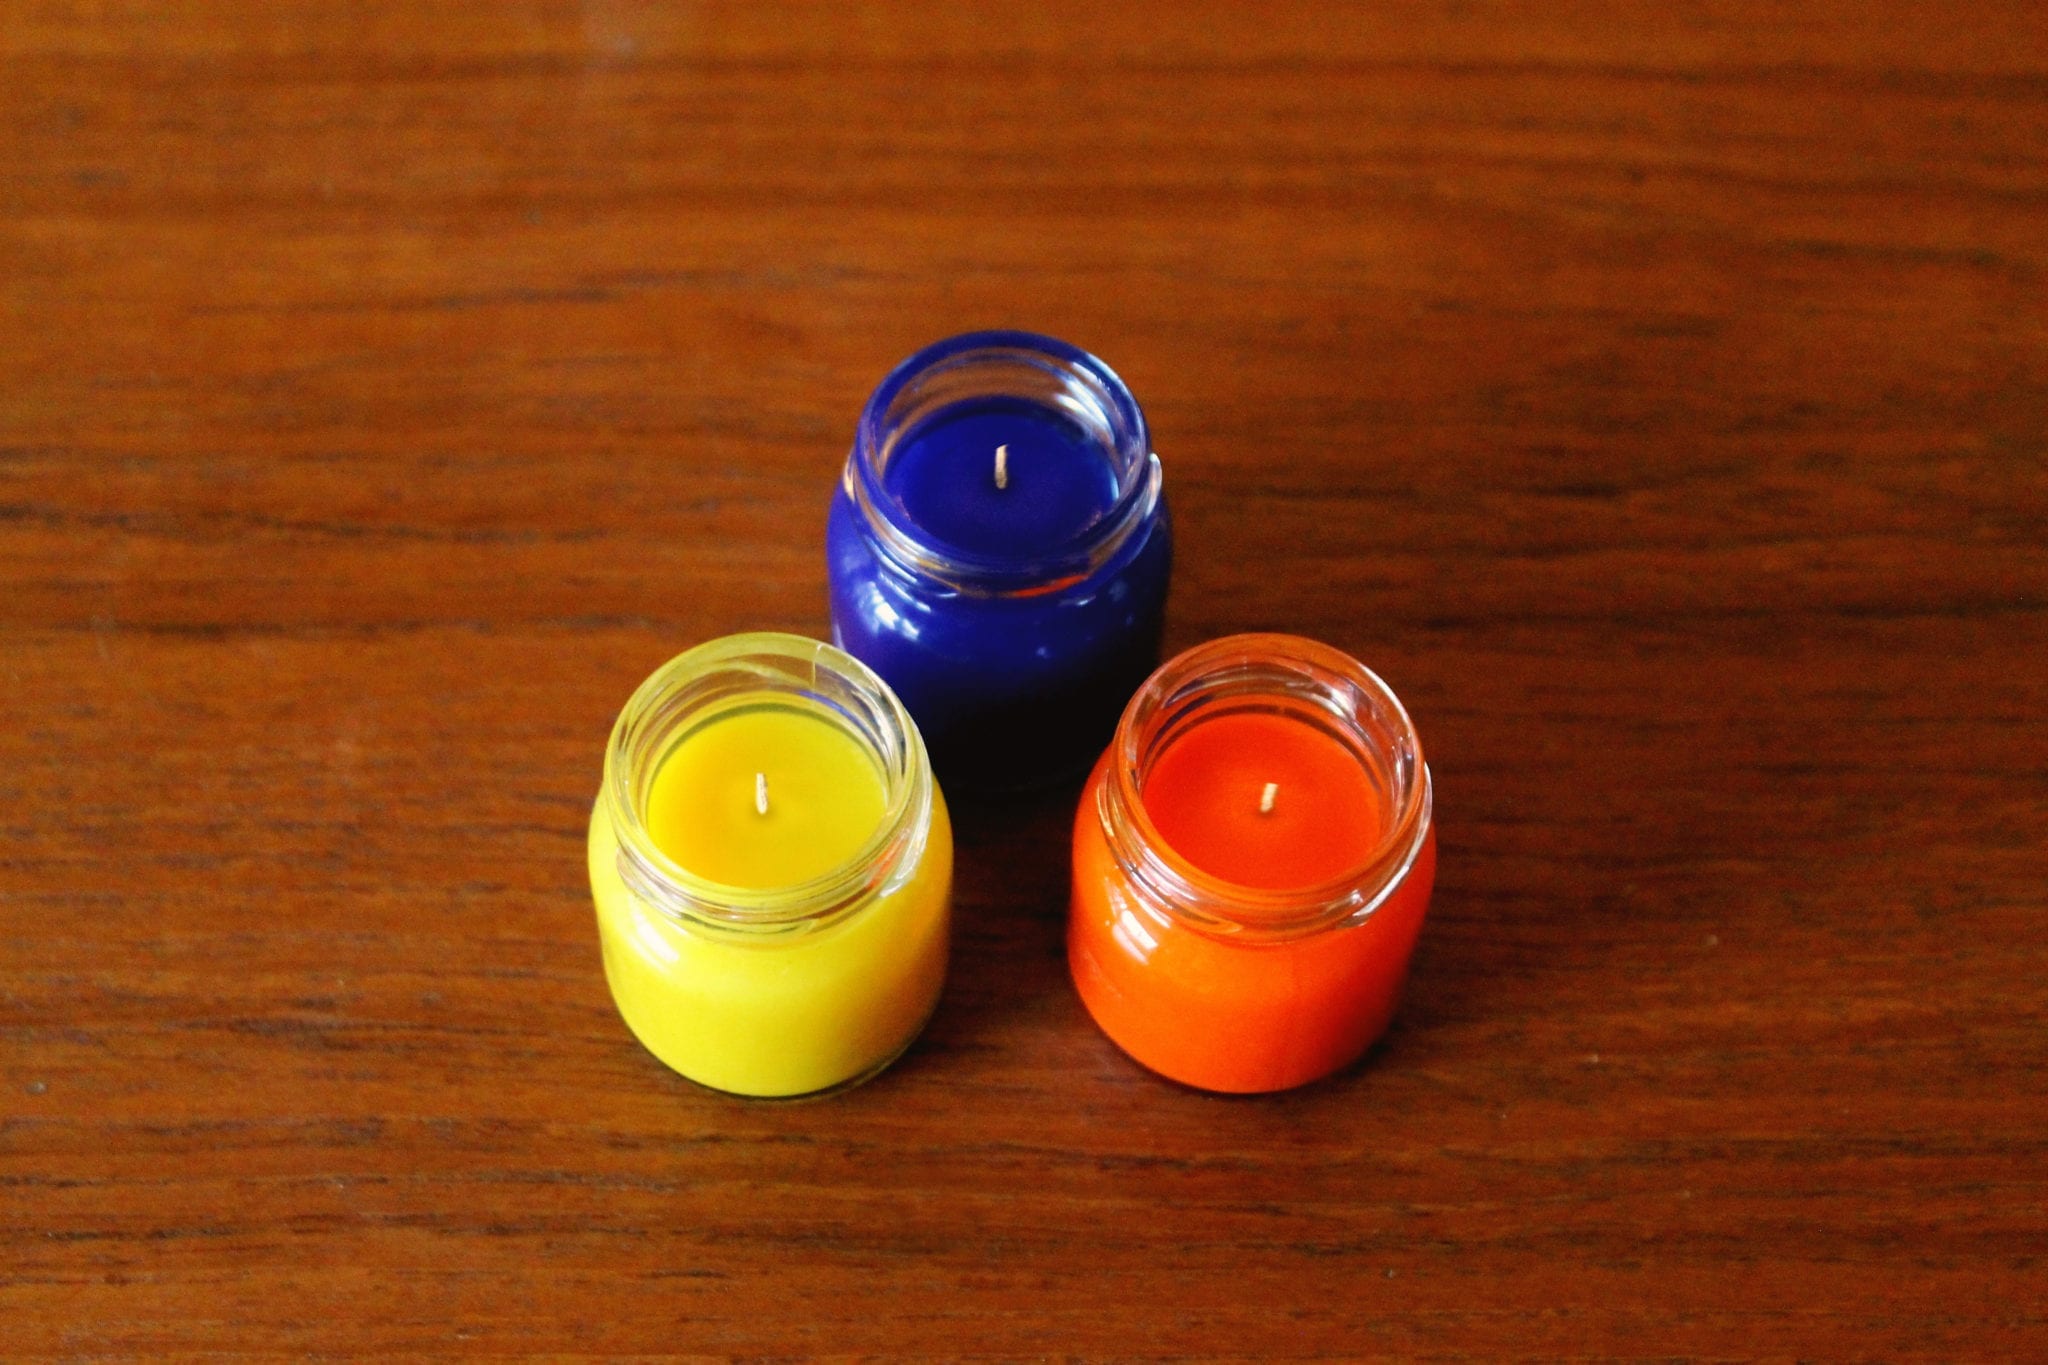
Once the wax is dry and the wicks are firmly dried into the candles, take the rubber bands off the chopsticks, and step back to enjoy your creation! These adorable mini candles look nice on side tables or arranged on kitchen sink counters. Have fun!


